
This comprehensive guide explores the structural architecture of Microsoft Word Online, explains why specific design elements are handled differently in cloud environments, and provides definitive, step-by-step methods to successfully add, view, and manage watermarks within the web interface.
How to Add Watermark in Word Online
Method 1: The Reading View and PDF Export Workaround
If you receive a document that already has a watermark—or if you want to verify that a watermark applied by a colleague is properly positioned—you will notice it does not show up in the default Editing View of Word Online.
Do not worry; the watermark has not been deleted or corrupted. It is simply resting in the background layer, ready to display when the document is rendered for distribution.
To view an existing watermark or check your work without launching the full desktop application, you can use the built-in rendering engines of the Reading View or the PDF generation tool.
Step-by-Step Instructions:
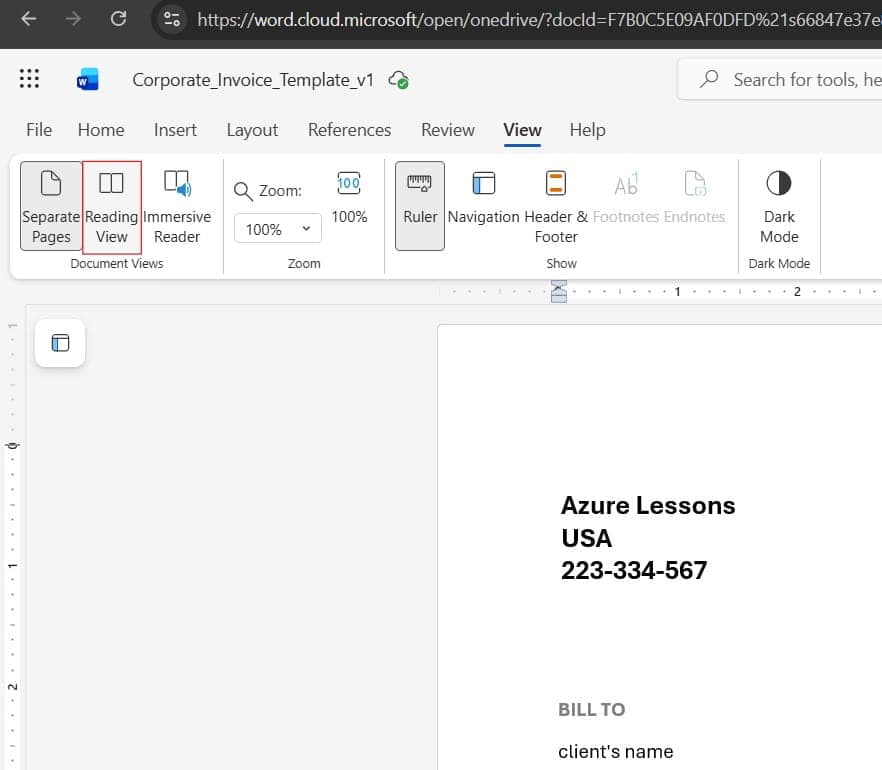
- Open Your Document: Launch your web browser, navigate to your Microsoft 365 dashboard, and open your target document in Word Online.
- Switch to Reading View: Look at the top control ribbon. Click on the View tab, and select Reading View from the leftmost side of the toolbar. Word Online will refresh and display the document in a read-only layout. In this view, the browser processes background visual elements, making your text or image watermark visible.
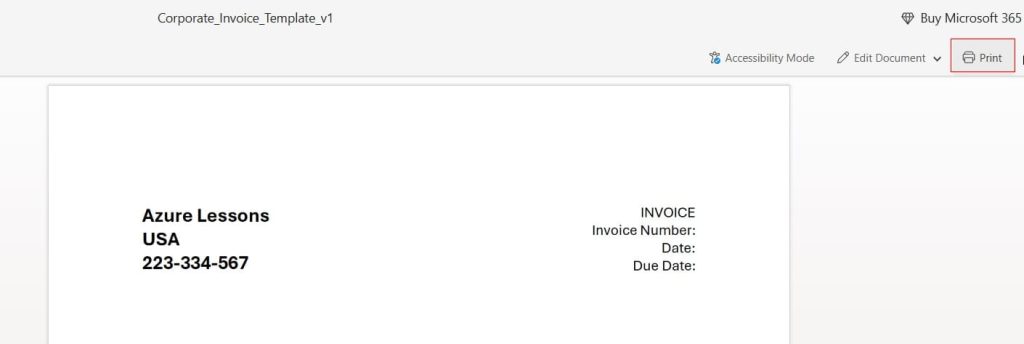
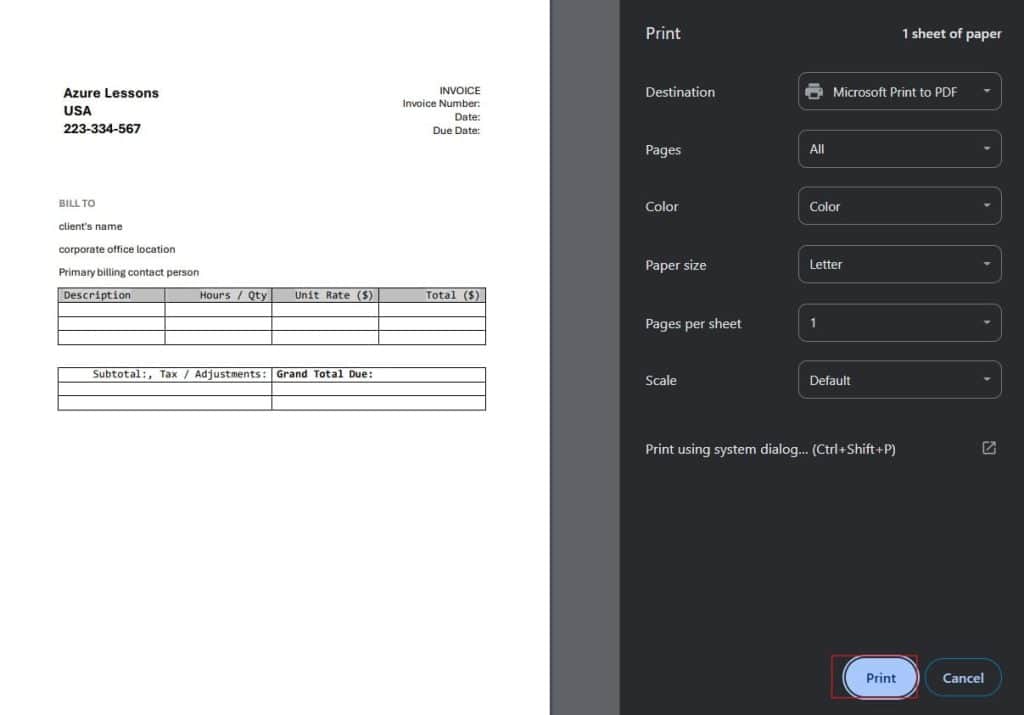
- Check the Print Preview Canvas: If you want to see exactly how the document will look when printed or saved, click on the File tab in the top-left corner, select Print, and then click Print this document.
- Inspect the Rendered File: Word Online will initiate an automated server-side conversion to generate a print-ready PDF file. This preview screen will show your watermark perfectly centered behind your text paragraphs. From here, you can choose to print the document or download it as a PDF file with the background security markings fully intact.
Check out the screenshot below for your reference.
Method 2: Manually Creating a Text Watermark via the Header Layer
When you need to build a document from scratch entirely within the cloud interface and want to add a custom “DRAFT” or “INTERNAL ONLY” indicator, you can build it yourself using the Header and Footer architecture. Since a native watermark is essentially an object anchored to the header, you can duplicate this design logic manually in Word for the Web.
Step-by-Step Instructions:
[Document Canvas]
   │
   ├── [Header & Footer Layer]  <─── (Activate this layer via View tab)
   │        │
   │        └── [Centered Text Block] ─── (Type: "CONFIDENTIAL")
   │                 │
   │                 └── [Formatting] ─── (Light Gray, Size 48+, Bold)
   │
   └── [Main Text Body Layer] (Your actual report text flows over the header layer)
1. Open the Header Layer
Click on the View tab in the main ribbon. Locate the Header & Footer button and click it. Alternatively, look at the top margin of your digital page and click the small Header tab that appears on the edge of the editing canvas. This action opens the header workspace and temporarily dims the main text of your document.
2. Position the Insertion Cursor
By default, the header workspace provides three structural text columns (Left, Center, and Right). Click your cursor into the Center block. This step ensures that your custom text remains balanced across the page layout and scales correctly if the page width changes.
3. Type Your Security Text
Type your classification text in all capital letters to maximize its visual presence. Standard business phrases include:
CONFIDENTIALDO NOT DISTRIBUTEPROPRIETARY CONTENTREVIEW COPY ONLY
4. Apply Light Gray and Bold Formatting
Highlight the text you just typed and navigate back to the Home tab on the ribbon. To ensure the text acts as a subtle background element rather than distracting from your main report, you must adjust its appearance:
- Font Color: Open the color picker and select a very soft, desaturated tone, such as Light Gray or an extra-light accent shade.
- Font Size: Increase the size significantly so it stands out. Select a size between 48 pt and 72 pt, or type the value manually into the drop-down box.
- Font Weight: Apply Bold styling to keep the large, light-colored characters readable behind your main text.
5. Add Blank Vertical Spacing
To move your text down from the very top edge of the paper into the center of the page body, place your cursor right before the first letter of your text string. Press the Enter key several times.
Each paragraph break pushes the large text block further down into the document body. While Word Online does not allow you to rotate text diagonally like the desktop version, this vertical stack creates a clean, centered background title block on every page.
6. Close the Header Workspace
Click anywhere within the main, grayed-out body of your document, or click the Close button on the floating header notification banner. The text you created will disappear from your immediate screen view, indicating it has successfully integrated into the background layer. You can confirm it is working perfectly by switching back to Reading View or opening the Print Preview screen.
Method 3: Inserting an Image/Logo Watermark
If your brand guidelines require a corporate crest, organization logo, or an official seal instead of plain text, you can embed a graphic file directly into the header layer. This technique ensures your corporate branding displays uniformly across all pages of your document.
Step-by-Step Instructions:
- Prepare Your Graphic Asset: Before uploading your image, make sure to adjust its properties using an image editor. The graphic should be saved in a clean format like
.pngor.jpg. To keep your document readable, use an image editor to lower the opacity or saturation of your file, creating a “washout” effect. The image should be pale enough that dark text typed over it remains highly readable. - Access the Header Space: In Word Online, go to the View tab and click on Header & Footer to unlock the background editing layer.
- Select Center Alignment: Place your cursor in the middle block of the three header zones to keep your graphic centered on the page.
- Insert the Image: Click on the Insert tab on the ribbon, select Picture, and choose This Device. Browse your computer to find your prepared, low-opacity logo file, and click Open.
- Adjust the Graphic Dimensions: Once the image loads into your header, click on it to show the sizing handles around its perimeter. Grab a corner handle and drag it diagonally to scale the logo to an appropriate size.
- Move It Down the Page: Place your cursor immediately in front of the graphic container and press
Entermultiple times to push the logo down into the center of the page. - Lock It In: Click back into the main document body to close the header workspace. Your logo is now anchored to the background template.
Transitioning to Word Desktop for Advanced Layout Controls
While manual workarounds in Word Online are highly effective for standard reports and everyday document security, certain complex projects require advanced design features. If you need to rotate a text watermark exactly 45 degrees diagonally, fine-tune image color channels directly inside the app, or apply different watermarks to specific sections of a document, you can switch to the desktop application with a single click.
Thanks to the integrated cloud architecture of Microsoft 365, your document can open directly in the desktop app without requiring you to download files or risk losing track of different versions.
Step-by-Step Instructions:
- Locate the Editing Options: Look at the top control bar in Word Online. Next to the document name and search bar, find the Editing dropdown button.
- Launch the Desktop Client: Click the dropdown arrow and select Open in Desktop App.
- Authorize the System Launch: Your web browser will show a confirmation prompt asking for permission to open the local Microsoft Word link handler. Click Open Link or Allow.
- Apply a Native Watermark: Once the document opens in your desktop Word application, go to the Design tab on the main ribbon. Look toward the far-right side of the toolbar, click the Watermark menu button, and select a predefined style (such as ASAP, DO NOT COPY, or URGENT) or choose Custom Watermark to configure advanced options.
- Save Your Changes: Because the file was opened directly from your cloud storage, you do not need to save it back to your computer manually. Simply click the Save icon or press
Ctrl + S. The desktop app will sync the changes back to OneDrive or SharePoint. - Return to Your Browser: Close the desktop program and return to your web browser window. Click the Resume Editing Here button. Word Online will reload the document, safely storing your new advanced watermark in the background layer.
Best Practices
Adding a watermark is an excellent visual reminder, but maintaining document security in cloud environments requires a few additional best practices:
- Use Watermarks with Permissions Management: Remember that a visual watermark can easily be edited or removed by anyone who has full “Edit” permissions to the document. If you want to protect your layout, use the Share menu to set user access levels to Can View or Can Review instead of granting full editing rights.
- Export to PDF for Final Distribution: When sharing documents outside your organization, send them as a PDF. Converting your file to a PDF locks your watermark in place, making it much harder for external recipients to alter or remove your security markings.
- Always Test Legibility First: Before distributing a watermarked document to clients or leadership teams, always check its readability using the Print Preview tool. Make sure your background text or image is pale enough that it does not compete with your main text, keeping your content accessible and professional.
You may also like the following articles:
- How to Put a Box Around Text in Word Online
- How To Move Table In Word Online
- Word Online Collaboration Tips

My name is Carissa Gudino and I am an expert in word online, using Word Online in my day-to-day tasks. In this blog, I will share with you tips and tutorials on how to use word online to its fullest potential. I work for various clients in various countries like the United States, Canada, the United Kingdom, Australia, New Zealand, etc. My tutorials are designed to help beginners, as well as more experienced users, learn new tricks and tips on Microsoft word online. Check out more.